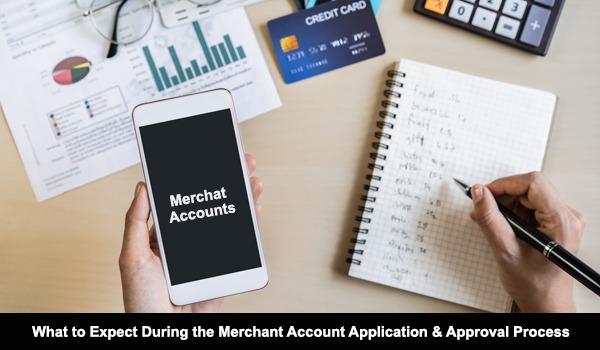
A Complete Guide on How to Open a Merchant Account: Your Essential Step-by-Step Process
For businesses, whether they operate in physical stores, online, or both, the ability to accept payments is one of the most essential functions. Beginning with a merchant account, each step in the life of processing payments via credit cards, debit cards, digital wallets, and whatever other means exist today is placed before it. Although opening a merchant account seems to be a very complicated process, it becomes simpler with the right road map.
Through this guide, we will take you through key steps in opening a merchant account so that your business is capable of accepting secure payments with the least distraction in its operations.
What Is a Merchant Account?
A merchant account is essentially a type of business bank account specifically designed to handle payments from customers. When customers purchase from your business, the funds are temporarily placed into this account before being transferred to your regular business checking account.
Whether you’re processing payments in-person, online, or through mobile devices, your merchant account is where those funds flow initially. Without a merchant account, businesses can’t process credit cards or electronic payments. So, it’s the backbone of your payment processing system.
Now, let’s break down the step-by-step process of how to open a merchant account and start accepting payments from your customers.
Step 1: Understand Your Business Needs and Choose the Right Provider
Before diving into the paperwork, it's critical to understand your business needs. Different businesses have different types of payment processing requirements. The first decision you’ll make is choosing between a traditional bank or a third-party payment processor.
- Traditional Banks: If you already have a banking relationship with a large bank, you might consider opening a merchant account with them. Traditional banks offer merchant accounts that integrate well with your existing business accounts, making it easy to manage your finances. However, their fees can often be higher than third-party processors, and you may face longer approval processes.
- Third-Party Payment Processors: On the other hand, third-party providers like Clover, PayPal, Square, and Stripe have gained popularity due to their competitive fees and faster setup. These providers often cater to small businesses and startups, offering low startup costs, easy-to-understand fee structures, and online payment options.
When choosing the right provider, make sure to consider:
- Transaction Fees: Research the fees each provider charges for processing payments. They typically charge a percentage of each sale plus a small flat fee per transaction.
- Integration Options: If you run an online store, make sure the provider integrates well with your website or e-commerce platform.
- Security Features: Payment security is critical. Look for providers that offer secure transaction encryption and fraud protection.
- Flexibility: If you’re expecting to scale your business, choose a provider that can grow with you and offer the flexibility to adjust your payment processing solutions as your business evolves.
Step 2: Gather the Required Documents
Before you can apply for a merchant account, you'll need to gather several important documents. This step ensures that you meet the regulatory and financial standards set by the payment processor. These documents include:
- Business Identification: You’ll need your official business name, type (LLC, sole proprietorship, corporation), and address. Some providers may also ask for your business registration details.
- Tax Identification Number (TIN): If you don’t already have an Employer Identification Number (EIN), you’ll need to apply for one with the IRS. The EIN is essential for tax purposes.
- Personal Identification: For verification purposes, payment processors will require personal identification documents such as a driver’s license or passport.
- Bank Account Details: Your business bank account is where the funds from your merchant account will be deposited. Make sure the account is in the same name as your business.
- Financial Documents: In some cases, especially for newer businesses, the payment processor may ask for your financial statements or recent tax returns to assess your business’s financial health.
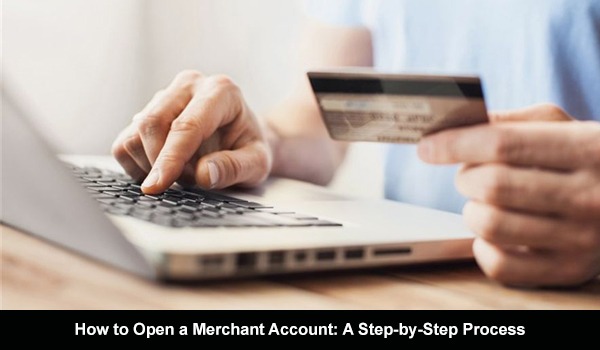
Step 3: Submit Your Application
Once you've chosen a provider and gathered your documents, the next step is to complete the merchant account application. Most providers offer an online application process that typically takes just a few minutes. The application will ask for key information about your business, such as:
- Business Type and Structure: Whether you’re an LLC, sole proprietor, or corporation, your provider will need to know your legal business structure.
- Sales Volume: Estimate your monthly revenue and average transaction size. This helps your provider understand your payment processing needs.
- Chargeback History: If you've previously had chargebacks (disputed payments), this will need to be disclosed. Providers want to know that you manage customer disputes effectively.
- Risk Assessment: Depending on the nature of your business, the payment processor may evaluate the level of risk involved. High-risk businesses (such as those selling online gambling or adult products) may have a more complicated approval process.
Be sure to answer all the questions accurately to avoid delays or rejections in the approval process.
Step 4: Review the Terms and Conditions
Signing the agreement involves a step of utmost importance, including a thorough review of the merchant account provider's terms and conditions. The step cannot be avoided, as the fine print provides important details concerning fees, account maintenance, and termination policies. Significantly, some key elements of consideration include:
- Transaction Fees: Understand how the provider will charge for each transaction. Also, find out if there are any hidden fees, for instance, monthly maintenance fees or early termination fees.
- Settlements: This is the period it takes for money from customer payments to transfer from the merchant account into your business account; some providers will facilitate quicker settlement periods than others.
- Chargebacks and Refunds: Knowing these policies by the provider is essential. A chargeback occurs when a customer disputes a charge, and the provider may charge you an extra fee for every chargeback.
- Contract Length and Termination: The length of the contract is important. Some providers lock you into long-term agreements, while others allow month-to-month contracts. Are there cancellation fees or penalties for canceling the contract prematurely?
If everything aligns with your business goals, go ahead and sign the agreement.
Step 5: Set Up Your Payment Processing System
After approval of the merchant account, it is time to integrate the necessary tools to start acceptance of payments. Depending upon the type of business you run, you will need various solutions to complete payment processes:
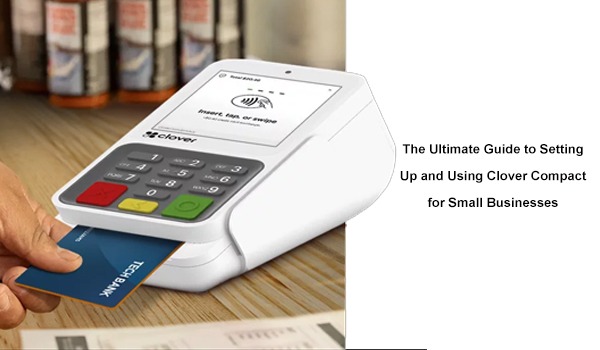
- In-store payments: If you're in brick-and-mortar, you need point-of-sale (POS) systems like card readers and receipt printers. Some merchant account providers even bundle the hardware, and POS devices, along with their software.
- Online payment gateway: If it's e-commerce, you would need an online payment gateway to securely process transactions on your website.
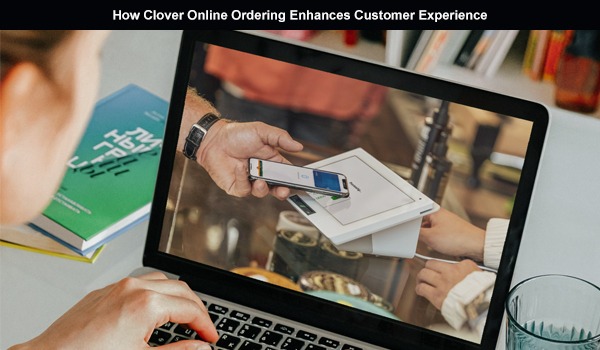
- Mobile payments: If your business is mobile, you can accept payments via smartphone or tablet using mobile card readers (like Clover, or Square).
Whatever payment method you choose in your sales channels, be it in-person, online, or mobile, ensure that your payment system integrates seamlessly with it. The more secure and streamlined the payment system is, the better it is for you and your customers.
Step 6: System-Test Before Going Live
This includes having to test everything and ensure that technology is well in place before you use it to accept real payments from customers. Testing transaction processing gives the assurance that all is in order. Test the following:
- POS Working: Test your POS to read cards correctly and print receipts accurately, especially if you are accepting payments in person.
- Transaction Error: If you have an online store, test the transaction and checkout process actively so customers can complete their transactions without error.
Simulate a refund request to check how the system handles it.
Now that you’re sure of the proper setup, you’re ready to go live!
Step 7: Accepting Payments and Nurturing Your Business
Everything is now in place, and it is time to start accepting payments! Inform your clients of such convenient payment methods through advertisements on your website, in physical stores, or on social networks.
Also, keep track of your transactions and related fees and ensure the timely transfer of funds into your business bank accounts. As your business grows, it might require changing payment processing systems or renegotiating terms with the service provider.
Conclusion
Setting up a merchant account may seem like quite a process. However, with this step-by-step guide, you will have the necessary tools to sail through it with ease. After choosing a reliable provider, submitting the required documentation, and understanding the fees and terms, you'll be ready to go live in no time!
Having a merchant account enables seamless payment processing, ensuring a smooth experience for your customers while fueling your business growth. Whether you're a small business or a large enterprise, contact Q PaymentZ for all your merchant processing requirements. Set up your merchant account today and watch your business soar!